Design a Custom Mug in Minutes: A Practical 2026 Guide to Mug Printing Tools for Non-Designers
A step-by-step tutorial explaining how beginners can create clean, print-ready mug designs using modern mug printing tools—without prior design training
Introduction
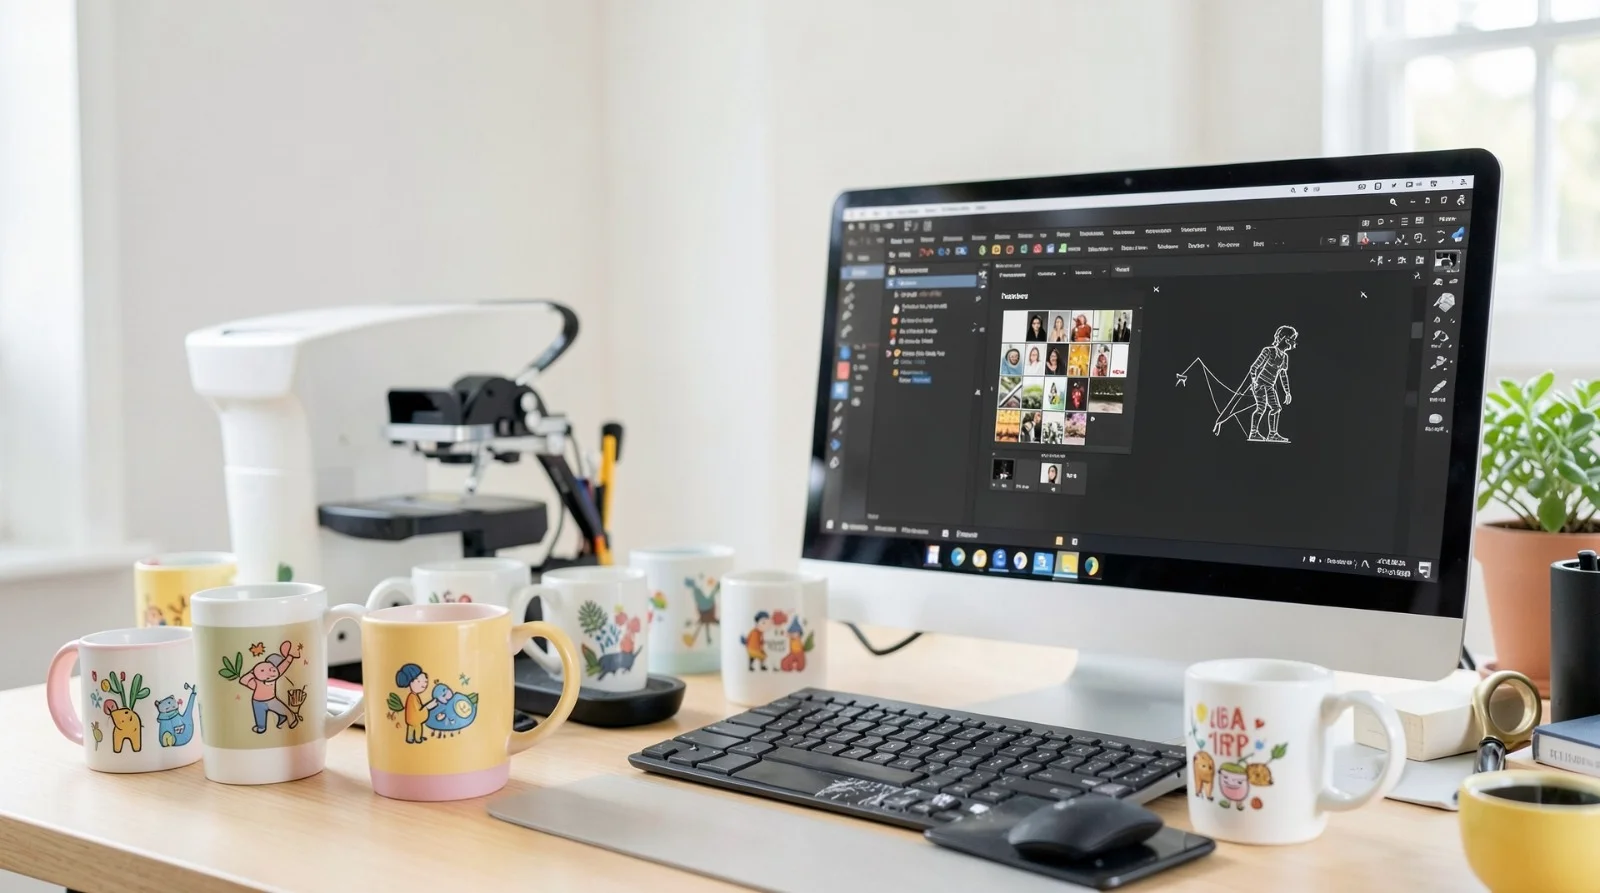
Design a Custom Mug in Minutes continue to be one of the simplest ways to produce personalized merchandise, whether for gifts, internal branding, online shops, or event giveaways. The design barrier has lowered significantly in recent years. Most mug printing tools now provide structured templates, preset dimensions, and visual previews that reduce guesswork.
Unlike traditional graphic design software, today’s mug printing tools are product-aware. The canvas already matches the wrap dimensions of a ceramic mug. Guides for bleed and safe areas are often built in. This allows beginners to focus on message clarity rather than technical setup.
One accessible starting point is the mug designer from Adobe Express, which offers browser-based templates and guided layout tools sized specifically for mugs. Similar tools follow a comparable workflow: choose the mug type, customize a layout, preview the wrap, and export or place an order. The process below explains how to move through those stages efficiently and avoid common beginner mistakes.
Step-by-Step Guide to Using Mug Printing Tools
Step 1: Select the Correct Mug Format and Template
Goal
Start with a correctly sized layout that matches your intended mug type.
How to do it
- Open your chosen mug printing tool.
- Select the mug size (11 oz, 15 oz, full-wrap, color-accent, etc.).
- Choose a template that fits your purpose (photo gift, quote, logo-based design).
- Confirm that the canvas dimensions match the print wrap.
- Keep bleed and safe-zone guides visible.
What to watch for
- Starting with the wrong mug size.
- Ignoring bleed margins.
- Choosing overly complex templates.
- Beginning from a blank canvas without a clear concept.
Tool notes
If you are preparing logos or graphics before uploading them, tools like Remove.bg can help clean up image backgrounds quickly before importing them into your mug layout.
Step 2: Clarify the Message Before Designing
Goal
Define the single main idea the mug will communicate.
How to do it
- Write the exact phrase or name you want on the mug.
- Limit the message to one primary statement.
- Decide whether the mug will center on:
- A bold quote
- A photo
- A logo and short tagline
- Keep wording concise and readable from arm’s length.
What to watch for
- Long paragraphs of text.
- Multiple competing messages.
- Decorative text that sacrifices clarity.
- Using screenshots instead of high-resolution images.
Tool notes
If you need help refining phrasing for clarity or tone, grammar tools such as Grammarly can help tighten short quotes or taglines before placing them into your mug design.
Step 3: Design for a Curved Surface
Goal
Ensure the layout works once wrapped around a cylindrical mug.
How to do it
- Keep critical elements within the safe zone.
- Avoid placing important text at the extreme left or right edges.
- Leave visual breathing room near the handle area.
- Use alignment tools to center your design.
- Toggle 3D preview mode frequently.
What to watch for
- Text that disappears behind the handle.
- Images that appear stretched or cropped awkwardly.
- Designs that look centered on a flat canvas but shift visually when wrapped.
- Overly dense full-wrap artwork.
Tool notes
When exporting mockups for review or sharing drafts with teammates, platforms like Dropbox can simplify sharing high-resolution preview files without compressing image quality.
Step 4: Choose Fonts and Colors That Print Cleanly
Goal
Maximize readability and reduce print surprises.
How to do it
- Choose bold, legible fonts.
- Limit font styles to one or two.
- Use high-contrast color combinations.
- Test the design at 100% zoom.
- Avoid very thin script fonts for small text.
What to watch for
- Low contrast (light gray on white).
- Overuse of decorative fonts.
- Colors that are too close in tone.
- Text smaller than 10–12 pt equivalent at print scale.
Tool notes
To verify color contrast for accessibility and legibility, tools such as WebAIM offer free contrast checkers that can help you evaluate readability before final export.
Step 5: Review the Mockup Carefully
Goal
Catch layout and quality issues before exporting or ordering.
How to do it
- Rotate the 3D mug preview.
- Check seam alignment.
- Zoom into photo areas to confirm resolution.
- Confirm that spacing is consistent.
- Re-read all text for spelling and punctuation.
What to watch for
- Pixelated images.
- Cropped edges.
- Uneven margins.
- Small spelling errors that become permanent once printed.
Tool notes
For collaborative review before ordering multiple units, lightweight project tracking platforms like Trello can help gather structured feedback on drafts from teammates.
Step 6: Export in the Correct Print Format
Goal
Prepare a file that meets production standards.
How to do it
- Export at the highest available resolution (300 DPI if supported).
- Confirm file format requirements (PNG, PDF, or JPEG).
- Ensure bleed is included if required.
- Double-check final dimensions.
- Save a master copy for future edits.
What to watch for
- Low-resolution exports.
- Accidentally exporting a preview file.
- Flattened images with missing transparency.
- Incorrect color profile settings if the platform allows manual adjustments.
Tool notes
If you need to compress large files for upload without sacrificing too much quality, services like TinyPNG can reduce file size while maintaining acceptable print clarity.
Common Workflow Variations
1. Photo-Based Gift Mug
Start with a high-resolution image, crop to landscape orientation, and place minimal text. Focus on centering and ensuring image clarity across the wrap.
2. Quote-Driven Minimal Design
Use a bold typographic layout with generous white space. Prioritize font clarity and contrast over decorative graphics.
3. Small-Batch Business Merchandise
Incorporate a logo, tagline, and website. Keep brand elements balanced and avoid crowding the wrap with too many marketing details.
4. Event or Team Mug
Use consistent branding across multiple units. Duplicate the template and change only the names or dates to maintain uniformity.
Checklists
Before You Start Checklist
- ☐ Confirm mug size and type
- ☐ Draft final text separately
- ☐ Use high-resolution images (300 DPI recommended)
- ☐ Verify brand color codes (if applicable)
- ☐ Check font licensing for commercial use
- ☐ Decide on wrap style (centered vs full-wrap)
- ☐ Gather logo files in vector or PNG format
- ☐ Review printing service specifications
Pre-Export / Pre-Order Checklist
- ☐ Text within safe zone
- ☐ Bleed included if required
- ☐ No spelling errors
- ☐ Image resolution verified
- ☐ Handle placement checked
- ☐ Color contrast sufficient
- ☐ File exported in correct format
- ☐ Final preview reviewed at full scale
Common Issues and Fixes
Low-Resolution Photos
If a photo appears blurry, replace it with a higher-resolution version. Screenshots and downloaded social media images are often too small for print.
Text Too Close to Edges
Reposition text inward within the safe zone. Curved surfaces exaggerate edge placement.
Color Looks Different in Print
Slight color shifts can occur. Increase contrast slightly and avoid extremely subtle gradients.
Cropping Surprises After Printing
Always use 3D previews and check bleed margins. Designs extending beyond safe zones risk being trimmed.
Layout Feels Crowded
Remove secondary elements. Simpler designs generally print more cleanly and remain readable longer.
How To Use Mug Printing Tools: FAQs
Do I need design experience to create a custom mug?
No. Most mug printing tools use drag-and-drop editors and preset templates that remove the need for professional design skills.
Is it better to start with a template or a blank canvas?
For beginners, templates reduce layout errors and help maintain correct sizing and spacing.
What file type is best for mug printing?
High-resolution PNG or PDF files are commonly accepted. Always confirm with your chosen printing provider.
Should I design for full-wrap or centered print?
Centered prints are simpler and lower risk for beginners. Full-wrap designs require more careful alignment.
Can I sell mugs created with online tools?
Yes, provided you have rights to all images, fonts, and brand assets used in the design.